

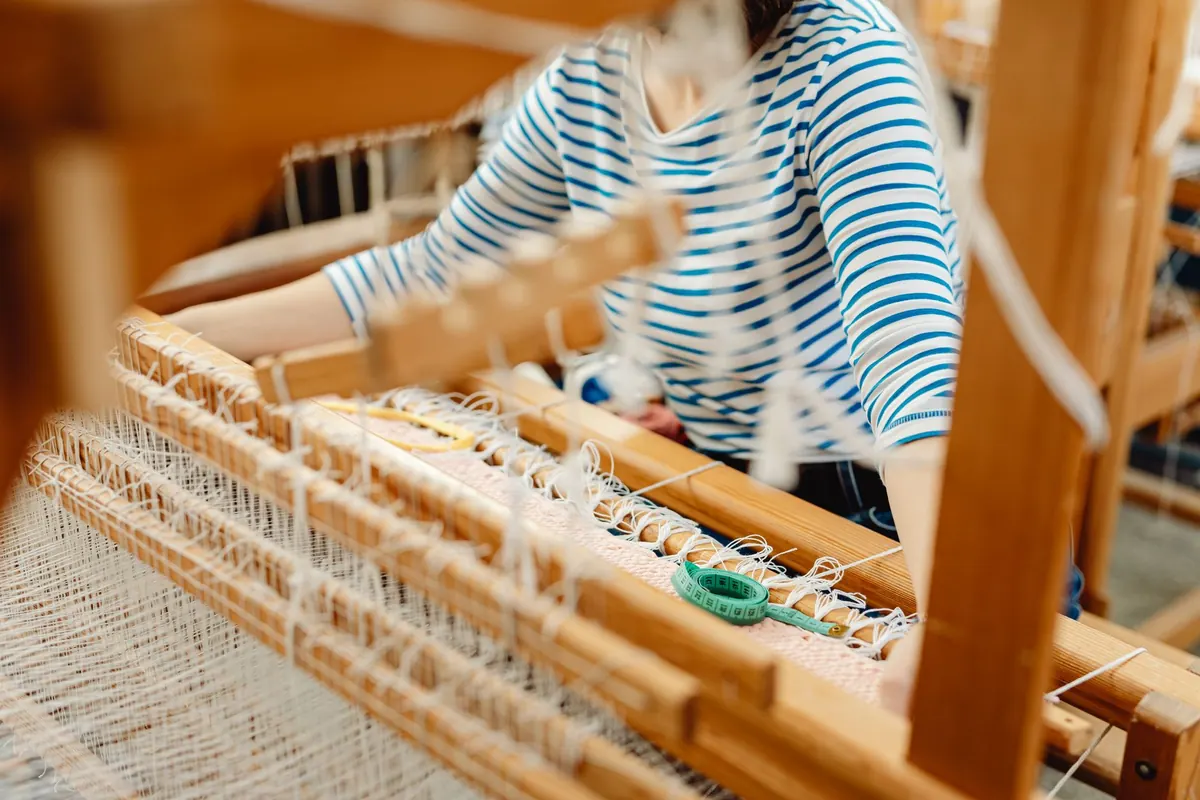
A scarf is one of the best first projects for a rigid heddle loom. It is narrow enough to manage in an afternoon, long enough to feel like real weaving, and forgiving of a little unevenness at the edges. The warp is the foundation. Get it measured, threaded, and tensioned well, and the weaving itself becomes a pleasure. This guide walks through direct warping for a simple scarf, from choosing yarn to tying on the front apron rod.
Choose Yarn and Calculate Your Warp
For a scarf, choose a smooth, sturdy yarn with some elasticity. DK or light worsted weight wool or a wool blend is a good place to start. Avoid very fuzzy or slippery yarns for your first warp; they hide mistakes and make tensioning harder. A plied yarn is easier to handle than a single.
Decide on width and length. A comfortable scarf is usually 8 to 10 inches wide and 60 to 70 inches long, plus fringe if you want it. Add loom waste: about 10 to 12 inches for the back and front apron ties, plus 8 to 10 inches if you plan fringe. So a 60-inch scarf with fringe might need an 80-inch warp.
Sett is the number of warp ends per inch. For a DK or light worsted yarn, 8 to 10 ends per inch is a reasonable starting point. Check the yarn label or weave a small sample to confirm. Multiply width by sett to get total ends. For example, 9 inches at 10 ends per inch is 90 ends. Keep the number even if you can; it makes threading slots and holes simpler.
A Quick Checklist Before You Warp
- Loom with a rigid heddle reed in the desired dent.
- Warping peg and clamp, or a warping board if you prefer indirect warping.
- Warp yarn, scissors, threading hook, and a ruler or tape measure.
- Paper or cardboard strips for winding on, and a small weight or clamp.
Measure the Warp
Set up your loom so the back beam is closest to you and the front beam is away. Clamp the warping peg at a distance equal to your warp length plus a few inches. Measure from the back apron rod to the peg. Keep the peg at the same height as the heddle so the yarn runs straight.
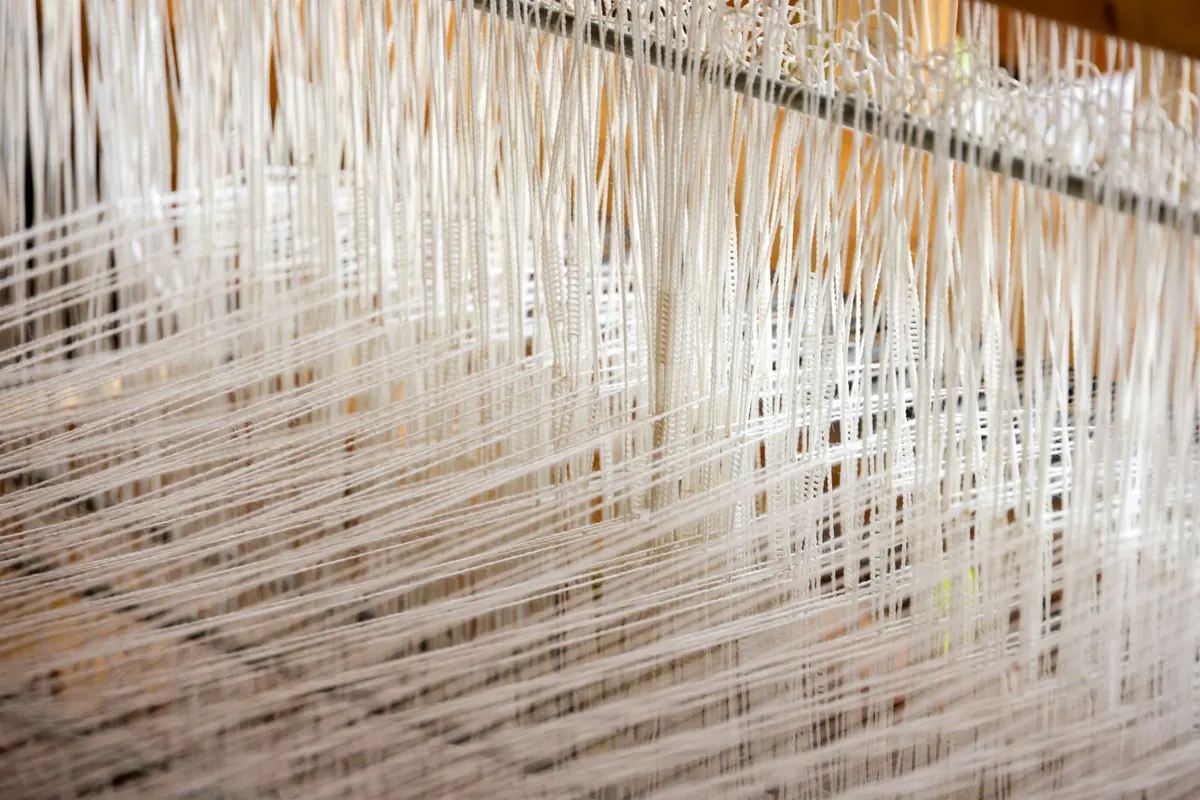
Tie the warp yarn to the back apron rod with a slip knot or lark's head. Bring the yarn forward through the first slot in the heddle. Then take it to the warping peg, loop it around, and bring it back through the same slot. You now have a loop at the peg and two strands in that slot. Continue across the heddle, working from one side to the other, until you have the total number of ends you calculated. You will have a series of loops around the peg.
Cut the loops at the peg. Now take one end from each pair and thread it through the adjacent hole using the threading hook. That gives you one end in a slot and one in a hole, which is what plain weave needs. Keep the yarn under light tension as you work. If the yarn is too loose, the warp ends will be different lengths; too tight, and the peg may move. Count as you go. It is easy to lose track after twenty ends. Write the number on a sticky note or use a counter.
Direct Warping vs. Indirect Warping
Direct warping, as described above, makes the warp and threads the heddle in one go. It is fast for simple projects. Indirect warping uses a warping board to measure the warp first, then threads the heddle from front to back. It is slower but gives you a tidy cross and is easier for long or complex warps. For a first scarf, direct warping is usually the most straightforward.
Thread the Heddle and Tie On
If you used direct warping, the heddle is already threaded: half the ends in slots, half in holes. Check that no ends are crossed and that each slot and hole has the correct number. For a balanced plain weave, you want an alternating pattern. If you used indirect warping, thread from the front: pull each end through a slot or hole according to your pattern, then tie the ends to the back apron rod.
Gather the warp ends into groups of about one inch. Tie each group to the front apron rod with a lark's head or a simple overhand knot. Keep the groups even. A group that is tighter than its neighbor will show as a ridge in the cloth. Tie the first group in the center, then work outward, checking the tension as you go.
Wind the warp onto the back beam. Place a strip of paper or cardboard between layers so the ends do not sink into each other. Keep tension on the warp with one hand as you turn the back beam with the other. Stop every few turns to check that the warp is winding evenly and that no ends are caught.
Tension the Warp
Tension is the difference between a scarf that weaves cleanly and one that fights you. Once the warp is wound on, stand at the front of the loom and pluck the warp like a guitar string. The sound should be consistent across the width. If one section sounds dull, it is loose; if it is sharp, it is tight. Adjust the front apron rod ties or the back beam ratchet until the tension is even.
For a rigid heddle loom, the heddle should move freely when you change sheds. If it is hard to push up or down, the warp is too tight. If the shed is messy or the warp sags, it is too loose. Make small adjustments. A half-turn of the ratchet can make a noticeable difference.
Check the warp for any crossed ends before you start weaving. Run your fingers across the warp near the heddle. If you feel a twist, fix it now. It is much easier to correct before the first pick than after ten inches of cloth.
Weave a Few Inches to Test
Before you commit to the whole scarf, weave a few inches. Use a scrap of the same yarn or a contrasting color. Check the selvedges, the sett, and the feel of the cloth. If the scarf is too loose or too firm, you can still change the weft or the beat. For a scarf, a slightly softer beat is usually more comfortable than a hard one.
Keep the weft at a consistent angle. On a rigid heddle loom, you can use the heddle itself to beat, or a separate beater. Beat gently. The goal is an even, airy fabric, not a dense mat.
A Scarf Worth the Setup
Warping takes time, but it is the part that makes the weaving easy. Measure carefully, thread one end at a time, and check tension before you start. A simple scarf in a smooth DK yarn is a good way to practice the whole sequence. Once you have done it once, the next warp will go faster. Keep notes on your sett, warp length, and tension so you can repeat what worked.
When you cut the scarf from the loom, leave enough warp for fringe or a folded hem. Wash the scarf gently, dry it flat, and trim the ends. Then start planning the next one.