


You have knit the sleeve, the stitch count matches, the fabric looks even — and then the cuff refuses to slide past the heel of your hand. Or it slides on easily and hangs loose after two wearings. Ribbing is the part of a garment where gauge stops being a number on a swatch card and becomes something you can feel. The good news is that a stretchy cuff is not a matter of luck or of knitting more loosely. It is a series of small, deliberate choices, and each one can be adjusted without disturbing the rest of the project.
Why Ribbing Gauge Behaves Differently
Stockinette is a flat, predictable fabric: knit twenty stitches, measure, multiply. Ribbing is a system of columns leaning into one another. The purl stitches sit back, the knit stitches stand forward, and the whole fabric contracts along the row. Forty stitches of 1x1 rib will measure noticeably narrower than forty stitches of stockinette on the same needles, while the row gauge stays closer to normal.
So swatch in the rib you plan to use, not in stockinette. Cast on enough stitches for at least 12 cm of fabric, work 10–12 cm, and let it rest for an hour. Then measure twice: once flat and relaxed, once stretched to the circumference the cuff actually has to clear — the widest part of the hand for a sleeve, the heel for a sock, the head for a neckband. The relaxed measurement tells you how the cuff will sit; the stretched one tells you whether it will go on at all. A cuff that sits roughly 2.5–5 cm smaller than the widest point it must pass is a reasonable starting place, but your swatch has the final word.
It helps to write down both numbers and the needle size, because ribbing can surprise you after blocking. A wool 1x1 rib may relax by a few stitches over 10 cm after a warm wash, while a cotton blend may grow and stay grown. If you are knitting a gift or a garment that will be worn hard, treat the washed swatch as the real gauge and the unwashed swatch as a rough draft.
Choose the Rib Before You Choose the Numbers
Not every rib is equally elastic, and a cuff has a different job from a hem.
1x1 rib
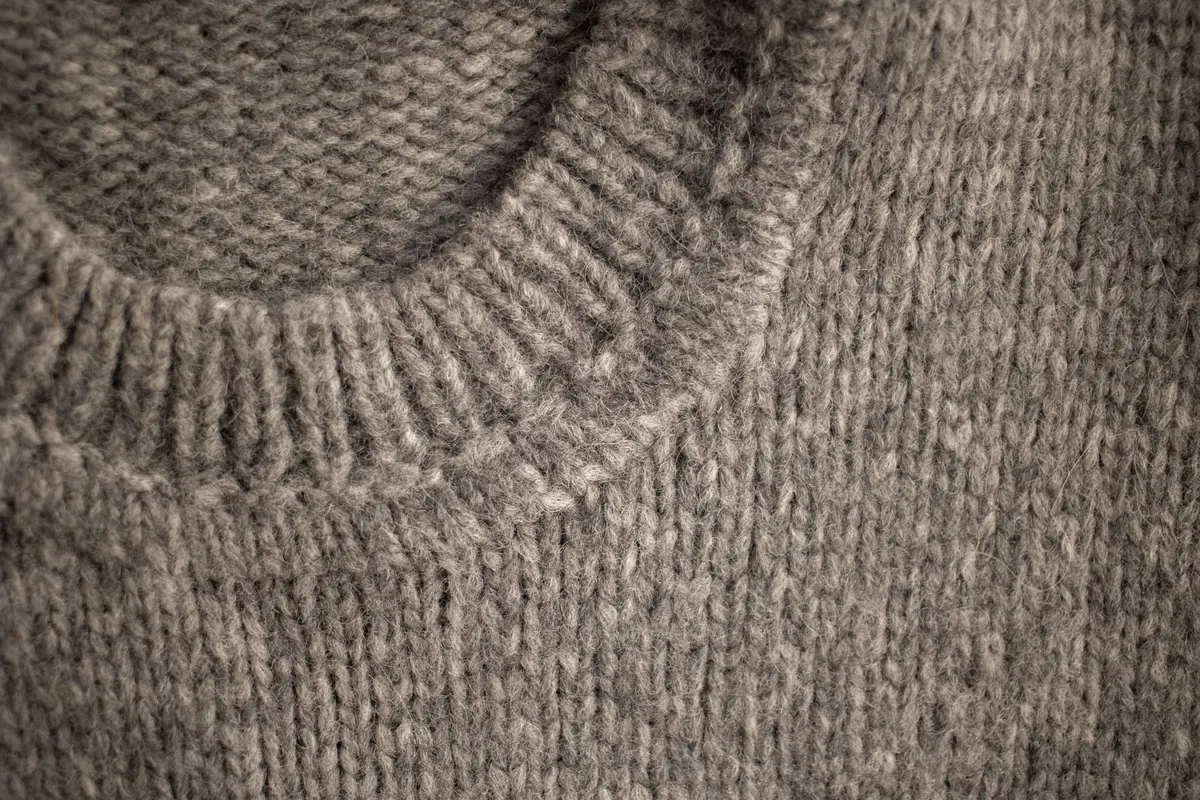
The stretchiest of the common ribs and the most forgiving. It pulls in strongly, recovers well in wool, and is the default for socks, mittens and neckbands. Because it contracts so much, it needs more stitches per centimetre than you might expect — check the count against your swatch rather than assuming the body's numbers will transfer. A 64-stitch sock cuff in 1x1 on 2.25 mm needles may look impossibly small off the needles and still stretch comfortably over a heel; a 64-stitch stockinette tube on the same needles would be a different fit entirely.
2x2 rib
Firmer and wider. The paired columns give a flatter, more tailored surface that resists the rippled look some 1x1 cuffs develop after washing. It suits sweater cuffs and hems, but it stretches less before it starts to fight back, so plan a little more ease and check that your stitch count is divisible by four — or by the multiple your pattern uses, plus any selvedge stitches. If the body has 60 stitches and you want 2x2 rib, you may need to decrease to 56 or 60 depending on the multiple; do the math before the first round, not after.
Twisted rib and half-twisted rib
Twisting the knit stitches gives a denser, more defined column and a cuff that holds its shape beautifully. It is excellent for a tailored sweater or a hat brim that should not sag. The trade-off is stretch: a fully twisted 1x1 rib is noticeably less forgiving than plain 1x1, and a half-twisted rib sits somewhere in between. For a sock cuff that must pass over a heel, plain rib is usually the kinder choice; for a decorative cuff on a garment with a buttoned opening, twisted rib can be worth the tighter fit.
Match the rib to the job
A sock cuff needs maximum stretch and recovery, so 1x1 or a relaxed 2x2 in a springy wool is a sensible default. A sweater sleeve cuff often wants a firmer fabric that will not flare, which makes 2x2, 3x1 or a twisted rib attractive. A neckband has to pass over the head but then sit close, so swatching becomes especially important: a neckband that measures 45 cm relaxed may need to stretch to 58 cm, and the rib you choose determines whether that feels comfortable or punishing.
The Cast-On and Bind-Off Are Part of the Cuff
Even a perfectly gauged cuff can fail at the edges. A tight long-tail cast-on can make a sock unwearable, and a rigid bind-off can turn a stretchy sleeve cuff into a bracelet. The cast-on and bind-off are not finishing details; they are the gatekeepers of the fit.
For stretchy cuffs, try a German twisted cast-on, an alternating cable cast-on, or a tubular cast-on. The tubular cast-on is especially good for 1x1 and 2x2 rib because it creates a rounded, elastic edge that blends into the rib pattern. It takes a little practice, but the result looks professional and stretches with the fabric instead of resisting it. If you are working a sock cuff, a German twisted cast-on is a sturdy, forgiving alternative that many knitters can work from memory after a few repeats.
At the other end, choose a bind-off that mirrors the cast-on. A sewn bind-off is slow but beautifully elastic; a tubular bind-off is ideal for ribbed cuffs and gives a clean, rounded edge; and a stretchy knit bind-off, worked with a larger needle or a yarnover between stitches, can be adequate for less demanding projects. Whatever you choose, test it on the swatch. Bind off the swatch, stretch it over your hand or a jar, and see whether it springs back. If the edge cracks or feels tight, the cuff will too.
Work the Transition Without a Bulge
The join between the sleeve and the cuff is where many otherwise good garments look homemade. If the body has more stitches than the rib needs, you will need to decrease before the cuff. Do it in one round if the difference is small, or over two or three rounds if you are removing a lot of stitches. Pair the decreases evenly around the round and, where possible, place them in the purl columns that will disappear into the rib. For example, if you are moving from 60 stitches to 56 for a 2x2 rib, four decreases spaced evenly will be almost invisible; if you are moving from 72 to 56, plan the decreases so they do not stack in the same columns and create a visible seam.
Sometimes the simplest solution is to change needle size instead of stitch count. A sleeve knit on 4 mm needles can move to 3.25 mm needles for the cuff, and the tighter gauge alone may give the cuff enough grip. This works best when the stitch count is already a multiple of the rib. If you both decrease and change needles, check the swatch again — two small changes can add up to a cuff that is too tight to pull over the hand.
Test the Cuff in Real Conditions
Before you knit the second cuff, put the first one to work. Slide it over the widest part of the hand, over the heel, or over the head, depending on the garment. Then leave it there for a minute and take it off. A good cuff should stretch smoothly, feel snug but not binding, and return to its original size without a rippled edge. If it leaves a deep mark or feels hot and tight, go up a needle size or add four to eight stitches. If it hangs loose after ten minutes of wear, go down a needle size or choose a firmer rib.
Wash the swatch or the finished cuff if the yarn allows. Many ribbing problems appear only after blocking: a cuff that felt perfect in the skein may relax and droop, or a cotton cuff may grow in length and lose its snap. Recording the pre-wash and post-wash measurements saves you from knitting a second cuff that behaves differently from the first.
Troubleshooting Common Cuff Problems
- The cuff is too tight to go on. Increase the stitch count in multiples of the rib, go up one needle size for the cuff, or switch to a stretchier rib such as 1x1. Check the cast-on and bind-off before reknitting the whole cuff.
- The cuff slides down. Decrease the stitch count, go down a needle size, or choose a firmer rib such as 2x2 or a twisted rib. A very slippery yarn may also need a tighter gauge or an elastic thread worked along the edge.
- The cuff flares at the join. The transition needs more decreases or a more gradual change. Work the first round of rib on a smaller needle, then switch to the cuff needle after two or three rounds.
- The edge ripples. The bind-off is too tight or the cast-on is too loose. Try a sewn or tubular bind-off, and check that the cast-on matches the elasticity of the rib.
- The cuff looks stretched out after wearing. The yarn may lack recovery, or the rib may be too shallow for the job. A wool with good crimp, a tighter gauge, or a deeper rib pattern can help.
Final Check Before You Knit the Second Cuff
Write down the needle size, stitch count, rib pattern, cast-on, bind-off, and the relaxed and stretched measurements of the first cuff. Knitters often assume they will remember, but a second cuff knit three weeks later can drift by half a needle size or four stitches. If you are working from a pattern, note any changes in the margin; if you are designing your own, keep the swatch with the project. A stretchy ribbed cuff is not one trick but a short chain of decisions, and once you have tested each link, you can repeat it with confidence.
Photo: Mert Coşkun / Pexels